
World of Warships: Smolensk review
5 min readWith a lot of delay, it is time to do the review for the last addition to the Russian arsenal, the Smolensk. The ship is available in the arsenal for a base price of 244 000 coal.
Tier X Soviet Light Cruiser Smolensk: The sailing AK-47
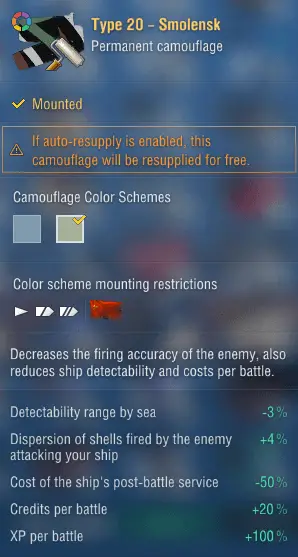
Her permanent camouflage gives the standard Tier X permanent camouflage bonuses:
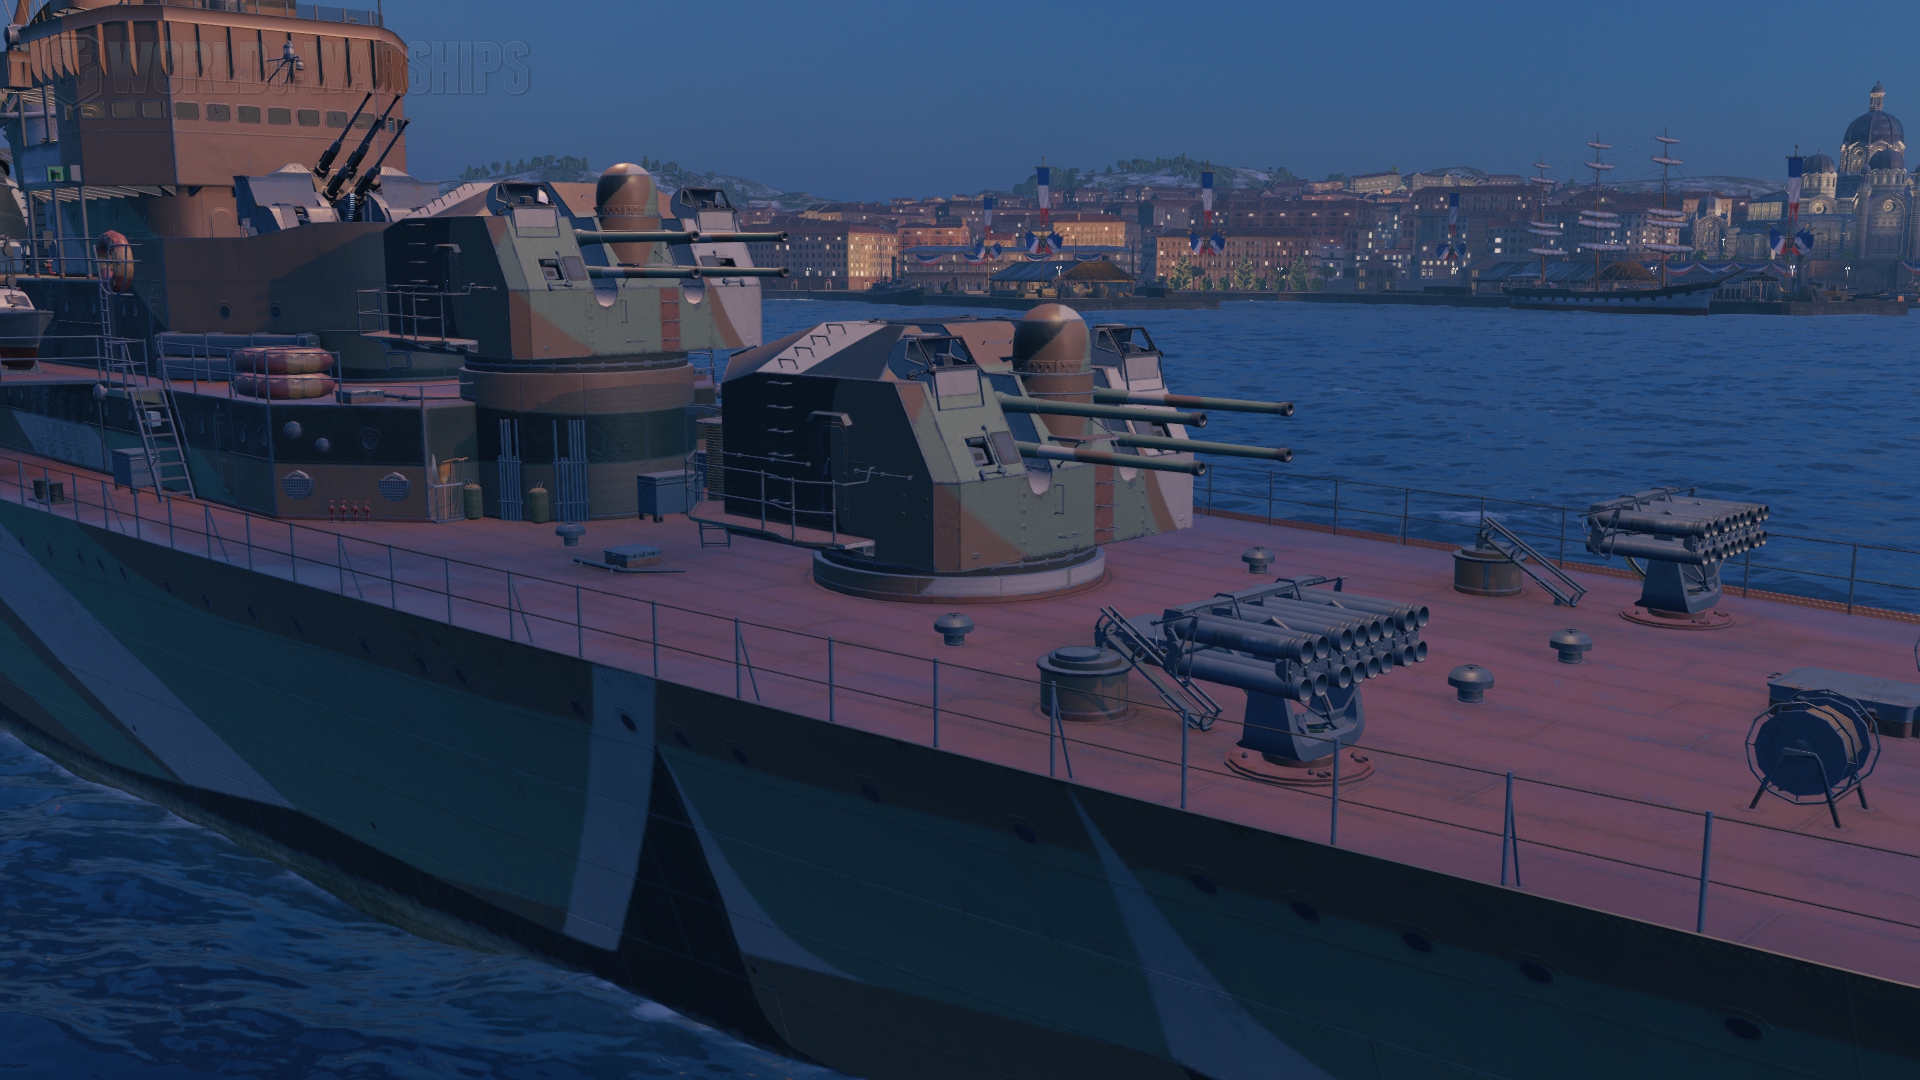
If you have the alternative camouflage for Russian cruisers, the Smolensk will look like this:
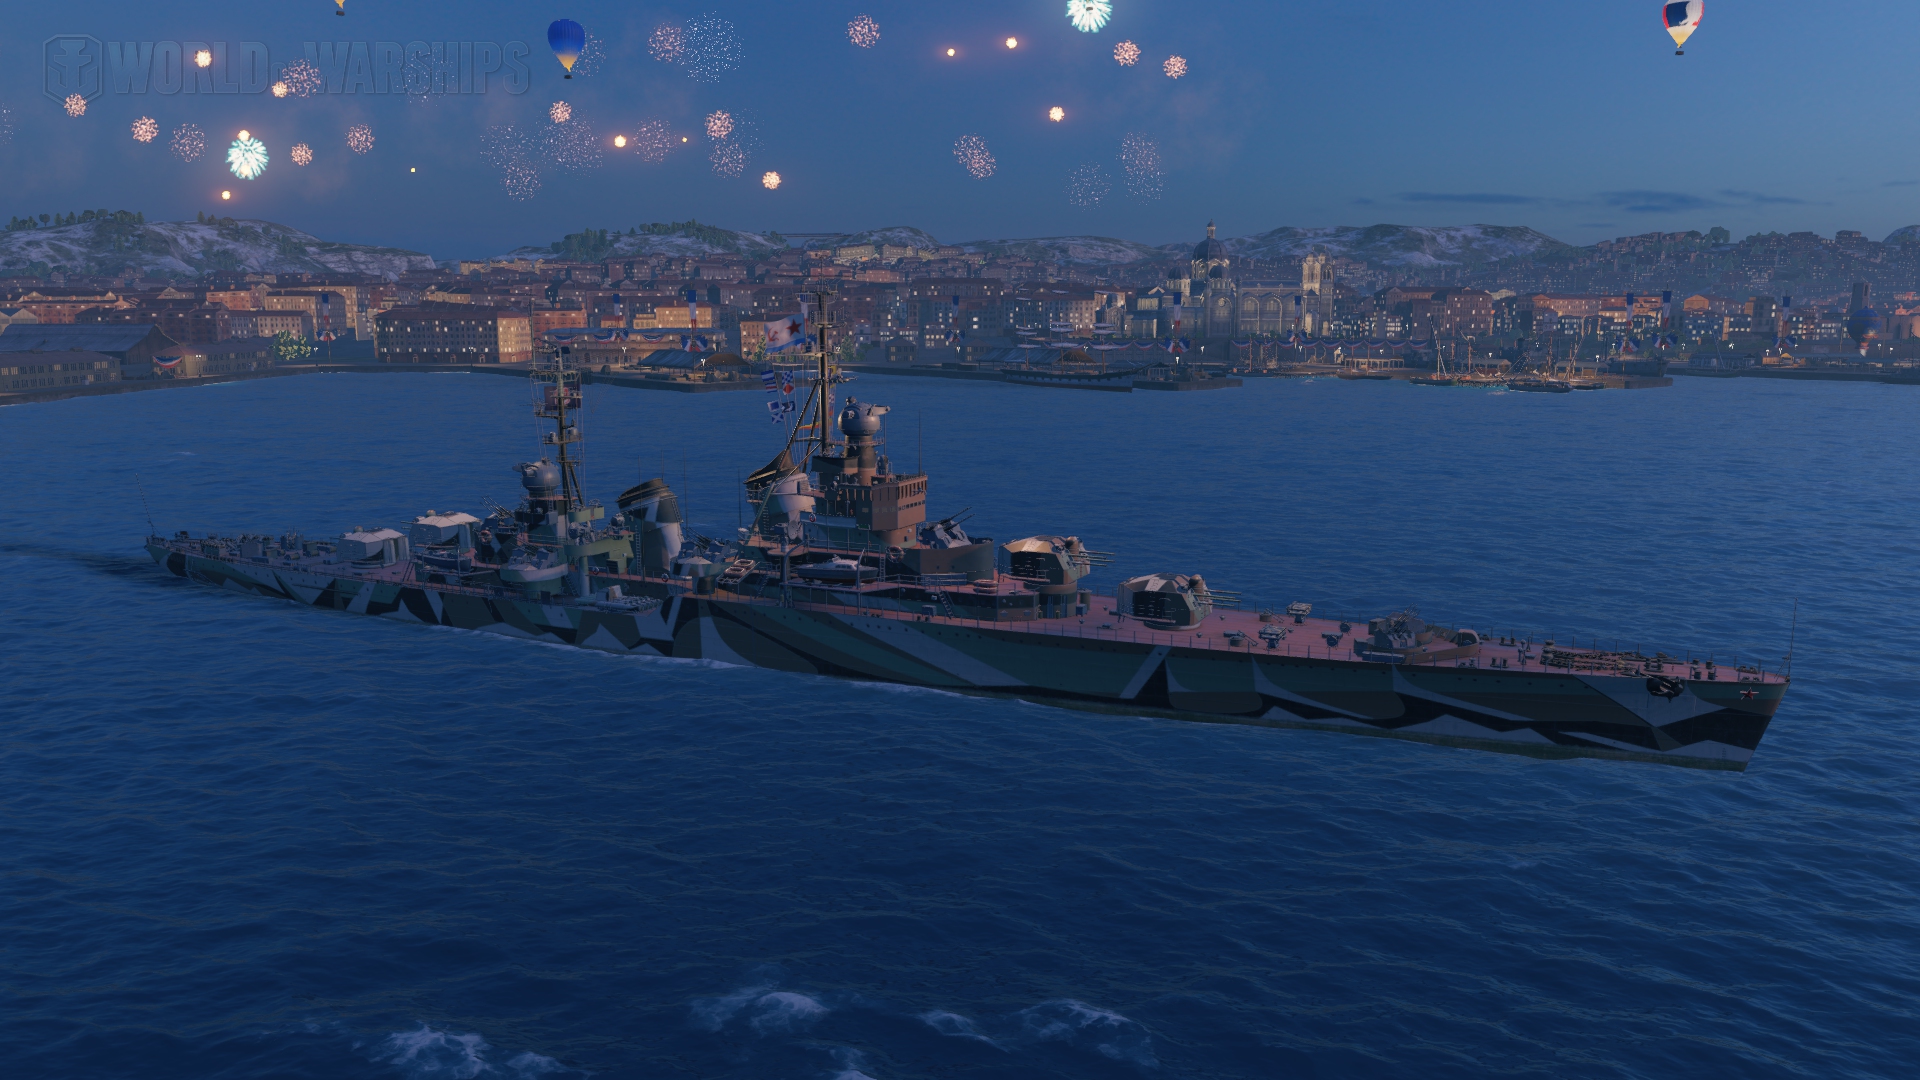
Personally, I find this camouflage absolutely glorious, especially with the brown, green, white colors.
The Good and the Bad
The Good
- Very good damage output with 16 shells per salvo
- Amazing fire-starting capacity
- Good ballistic
- Good firing angles
- Very strong anti-air
- Good agility
- Relatively Good concealment
The Bad
- 13.8 km range
- Small HP pool
- Very thin citadel protection (which is at the same time a good thing against battleships at close range because they will just overpenetrate your citadel if you are flat broadside)
- No torpedo protection
- Vulnerable Engine and Rudder against large caliber HE shells
My opinion
The Smolensk is…. an interesting ship. Her skill floor is relatively low as long as you know to not sit flat broadside in your smoke if destroyers are around or that you know to not give broadside to battleships at range. The skill ceiling though… it is high to say the least in random battles. Is the Smolensk OP? I wouldn’t go that far but it is definitely an incredibly strong ship (but terribly boring because of good old damage farming from smoke.
Health pool
The Health pool is the lowest of all tier X cruiser at 32 400 HP with only the Colbert being close at 36 100 HP. This health pool doesn’t allow for mistakes.
Main batteries
| 4 x 4 130 mm/57 BL-132 | |
| Maximum Firing Range | 13.800 km |
| Reloading Time | 4.5 s |
| 180 Degree Turn Time | 6.0 s |
| Optimal front firing angle | 31° |
| Optimal rear firing angle | 30° |
| Sigma | 2.00 sigma |
| Maximum Dispersion | 119 m |
| Shells | |
| Type of Projectile | HE – HE-42 |
| Alpha Damage | 1 800 HP |
| Damage | 500 HP |
| Penetration capacity | 21 mm |
| Explosion size | 0.43 |
| Fire chance | 8 % |
| Projectile Speed | 950 m/s |
| Air Drag | 0.291 |
| Projectile Mass | 33 |
| Projectile Krupp | 1 |
| Projectile Detonator | 0.001 s |
| Type of Projectile | AP – SAP-42 |
| Alpha Damage | 2 600 HP |
| Chance to Cause Fire | -0.5 % |
| Projectile Speed | 950 m/s |
| Air Drag | 0.294 |
| Projectile Mass | 33.4 |
| Projectile Krupp | 1 900 |
| Projectile Detonator | 0.01 s |
As I already said before, her firepower is incredibly strong. 16 shells per salvo, 4.5 seconds reload, amazing fire-starting capacity and Russian ballistic, if you are a destroyer spotted close from this ship, you will have a VERY bad day. Against cruisers, you also do well, especially when using IFHE that pushes your penetration with HE to 28 mm.
The only downside of these guns is that with the ballistic, you cannot exploit islands that well so you will be either firing in open water (which she can perfectly do) or you will be farming damage in your smoke. One thing regarding her smoke though, ALWAYS make sure that something will spot the enemy you want to farm for you (even though it should be something obvious).
The torpedo armament
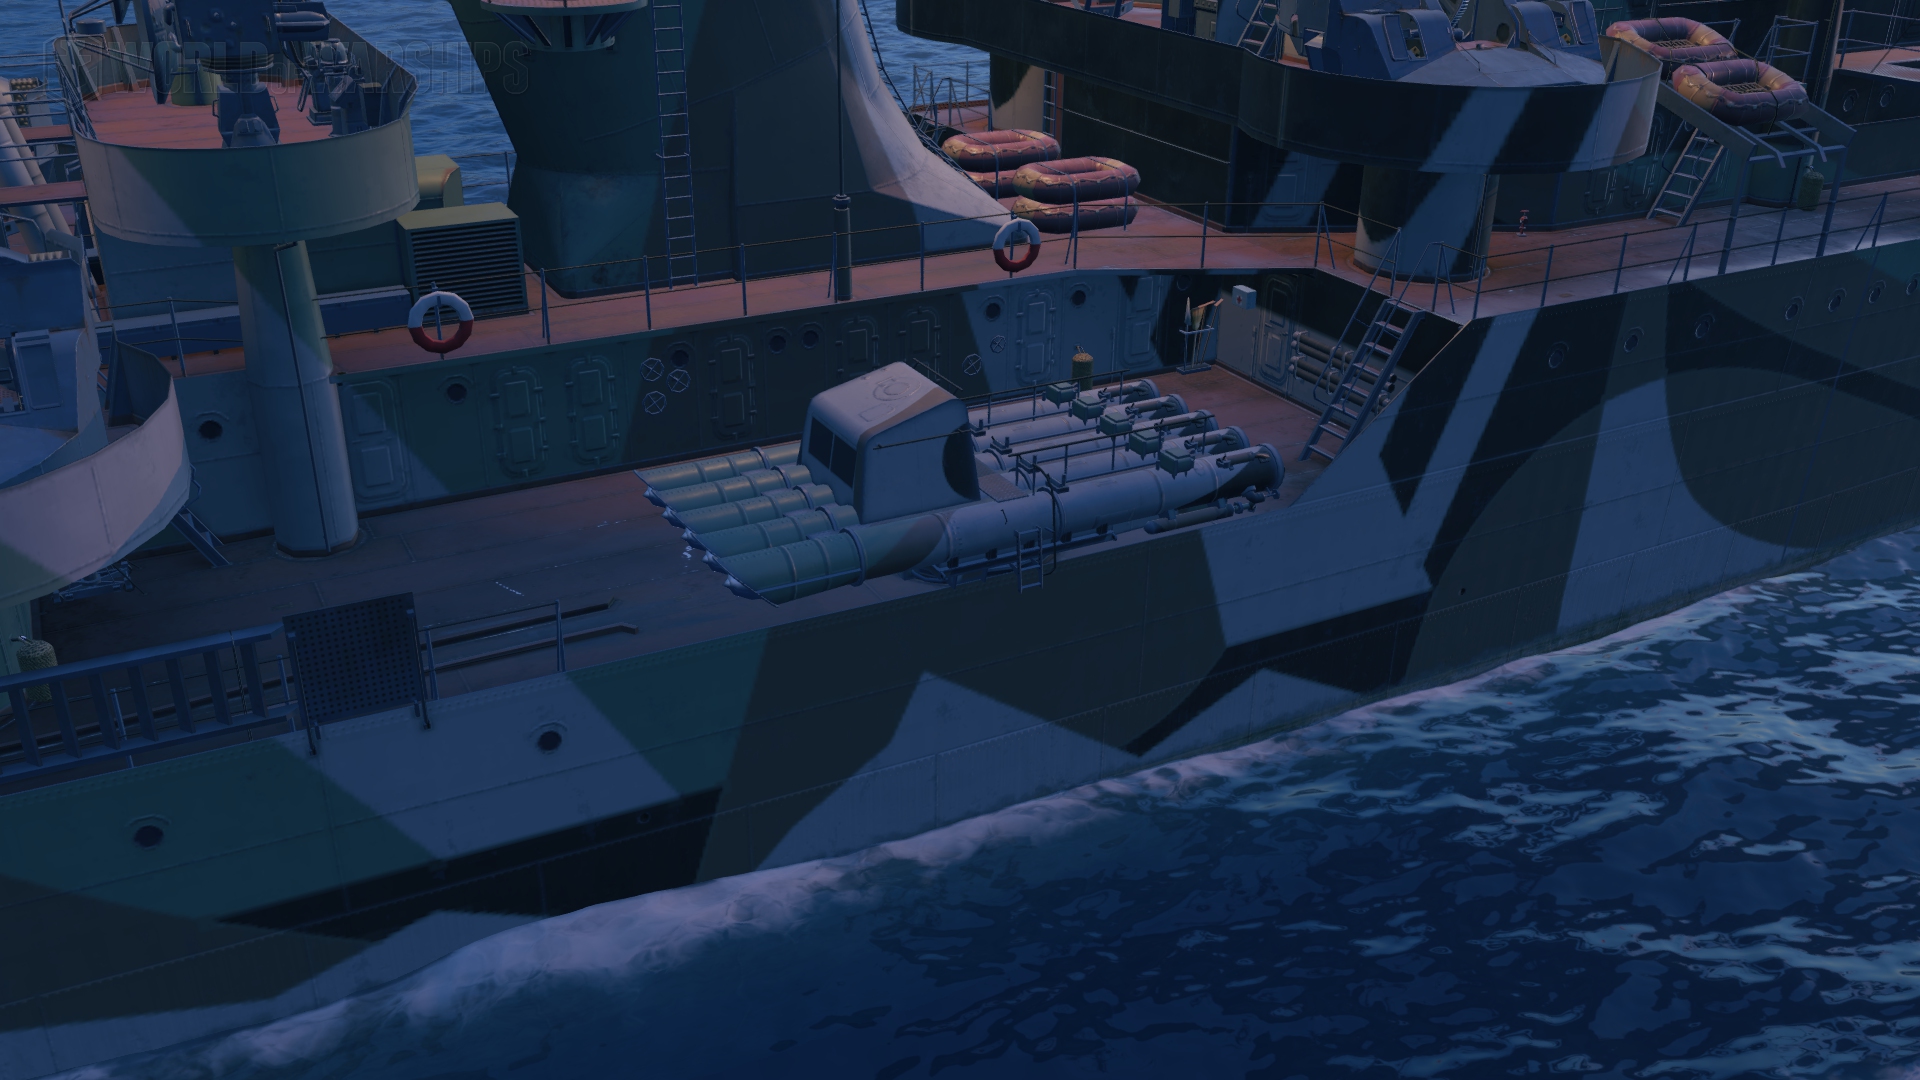
| 2 x 5 533 mm Quintuple PTA-53-68-bis torpedoes: 53-51 | |
| Reloading Time | 131 s |
| Maximum Distance | 8.0 km |
| Optimal front firing angle | 35° |
| Optimal rear firing angle | 30° |
| Damage | 14 400 |
| Speed | 60 kt |
| Surface Detectability | 1.2 km |
Well nothing much to say here, these torpedoes are more of a nice addition than anything else and will help you if a battleship tries to rush you even though here, you only have 5 per side.
The anti-air armament
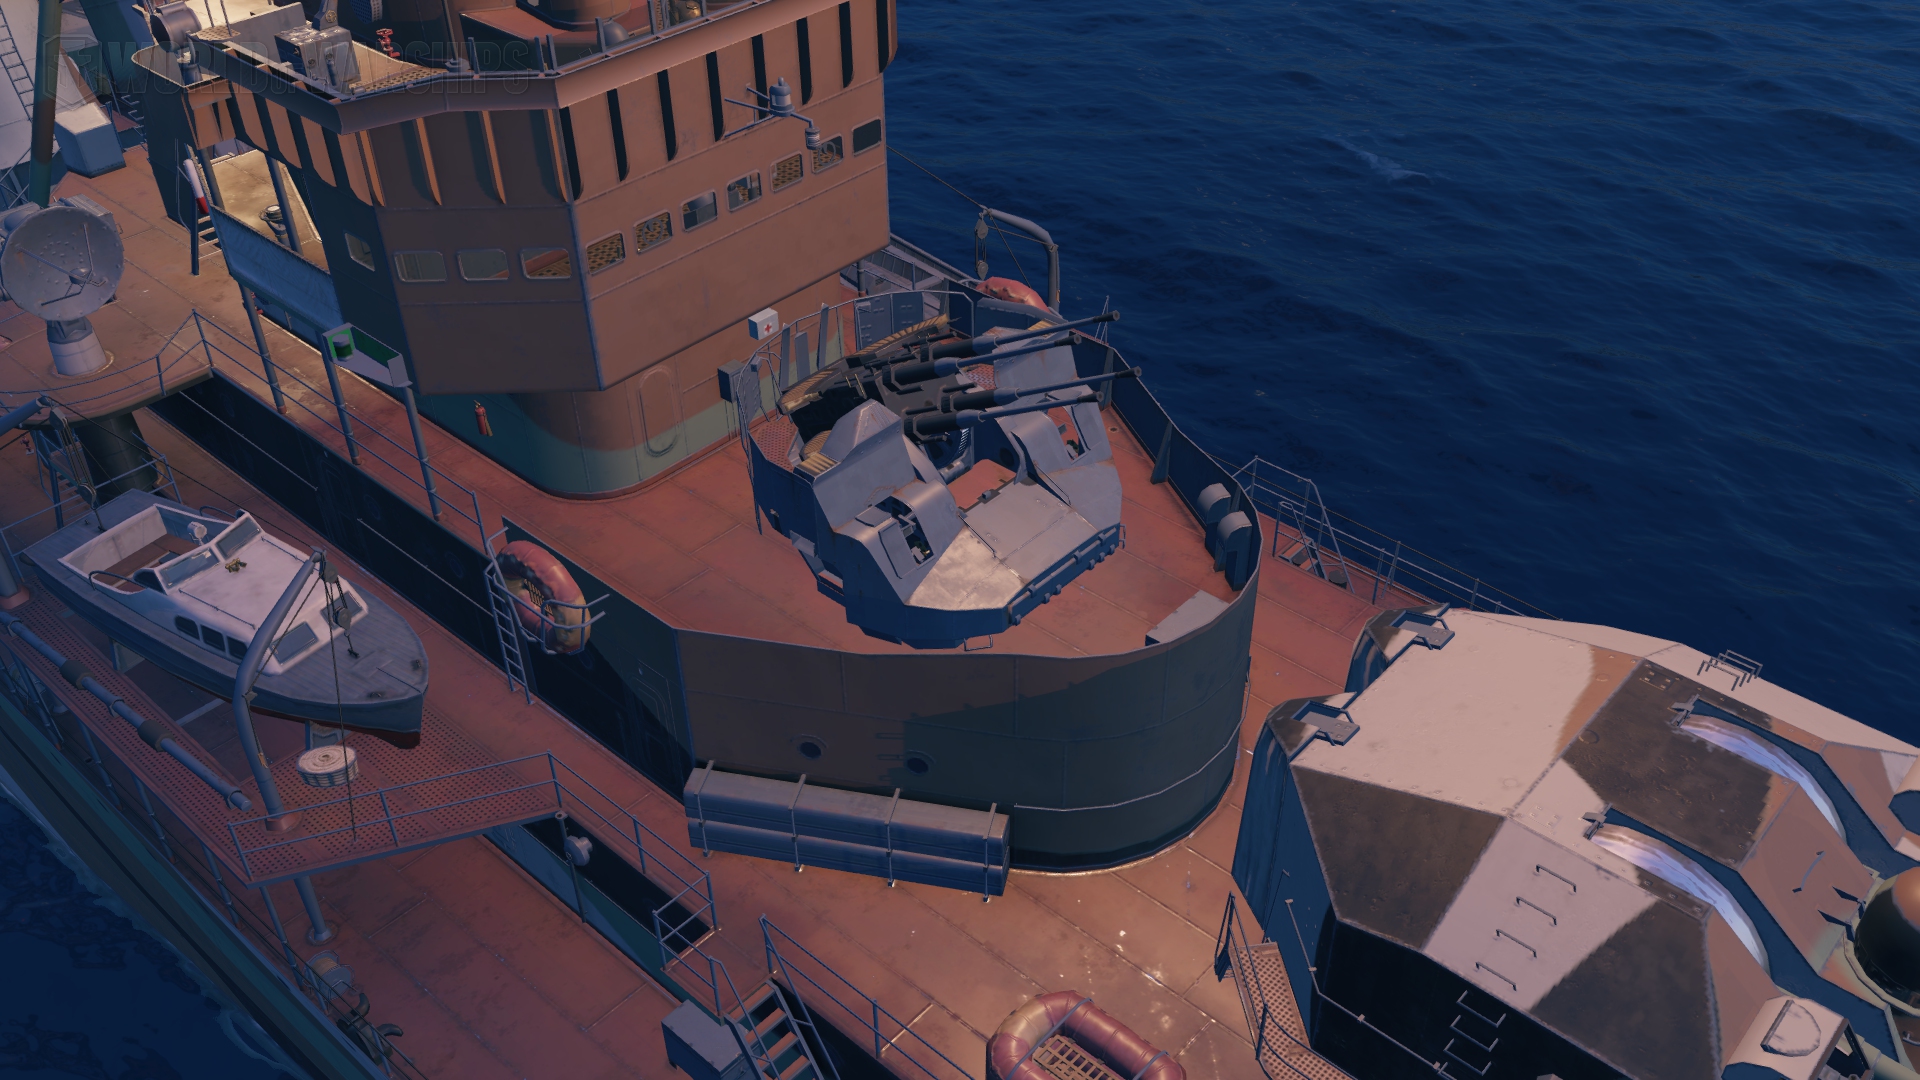
| 4 x 4 130 mm/57 BL-132 | |
| Sector range | 0.1 km – 6.0 km |
| Hit chance | 90 % |
| Sector’s damage | 54 |
| Sector’s damage frequency | 0.29 s |
| Sector’s damage per second | 189 |
| Flak clouds number | 8 |
| Flak cloud damage | 1 890 |
| 6 x 4 45 mm SM-20-ZIF | |
| Sector range | 0.1 km – 3.5 km |
| Hit chance | 90 % |
| Sector’s damage | 60 |
| Sector’s damage frequency | 0.29 s |
| Sector’s damage per second | 210 |
| 4 x 4 25 mm 4M-120 | |
| Sector range | 0.1 km – 3.1 km |
| Hit chance | 85 % |
| Sector’s damage | 20 |
| Sector’s damage frequency | 0.29 s |
| Sector’s damage per second | 70 |
Her anti-air is truly amazing, high number of flak, good DPS from the start, if carriers want to go for you, they will pay a high price and I can confirm that as a CV player.
Maneuverability and Concealment
| Maximum speed | 35 kt |
| Turning Circle Radius | 750 m |
| Rudder Shift Time | 8.2 s |
| Surface Detectability | 12.78 km |
| Air Detectability | 7.41 km |
| Detectability After Firing Main Gus in Smoke | 5.91 km |
The Smolensk presents both very good maneuverability with her high speed and turning radius and also good concealment. With a full stealth build, she can reach 10.0 km spotting range by sea and 6.0 km spotting range by air. This allows her to pick her engagements most of the time except if it’s a destroyer or thing like British cruisers.
The armor
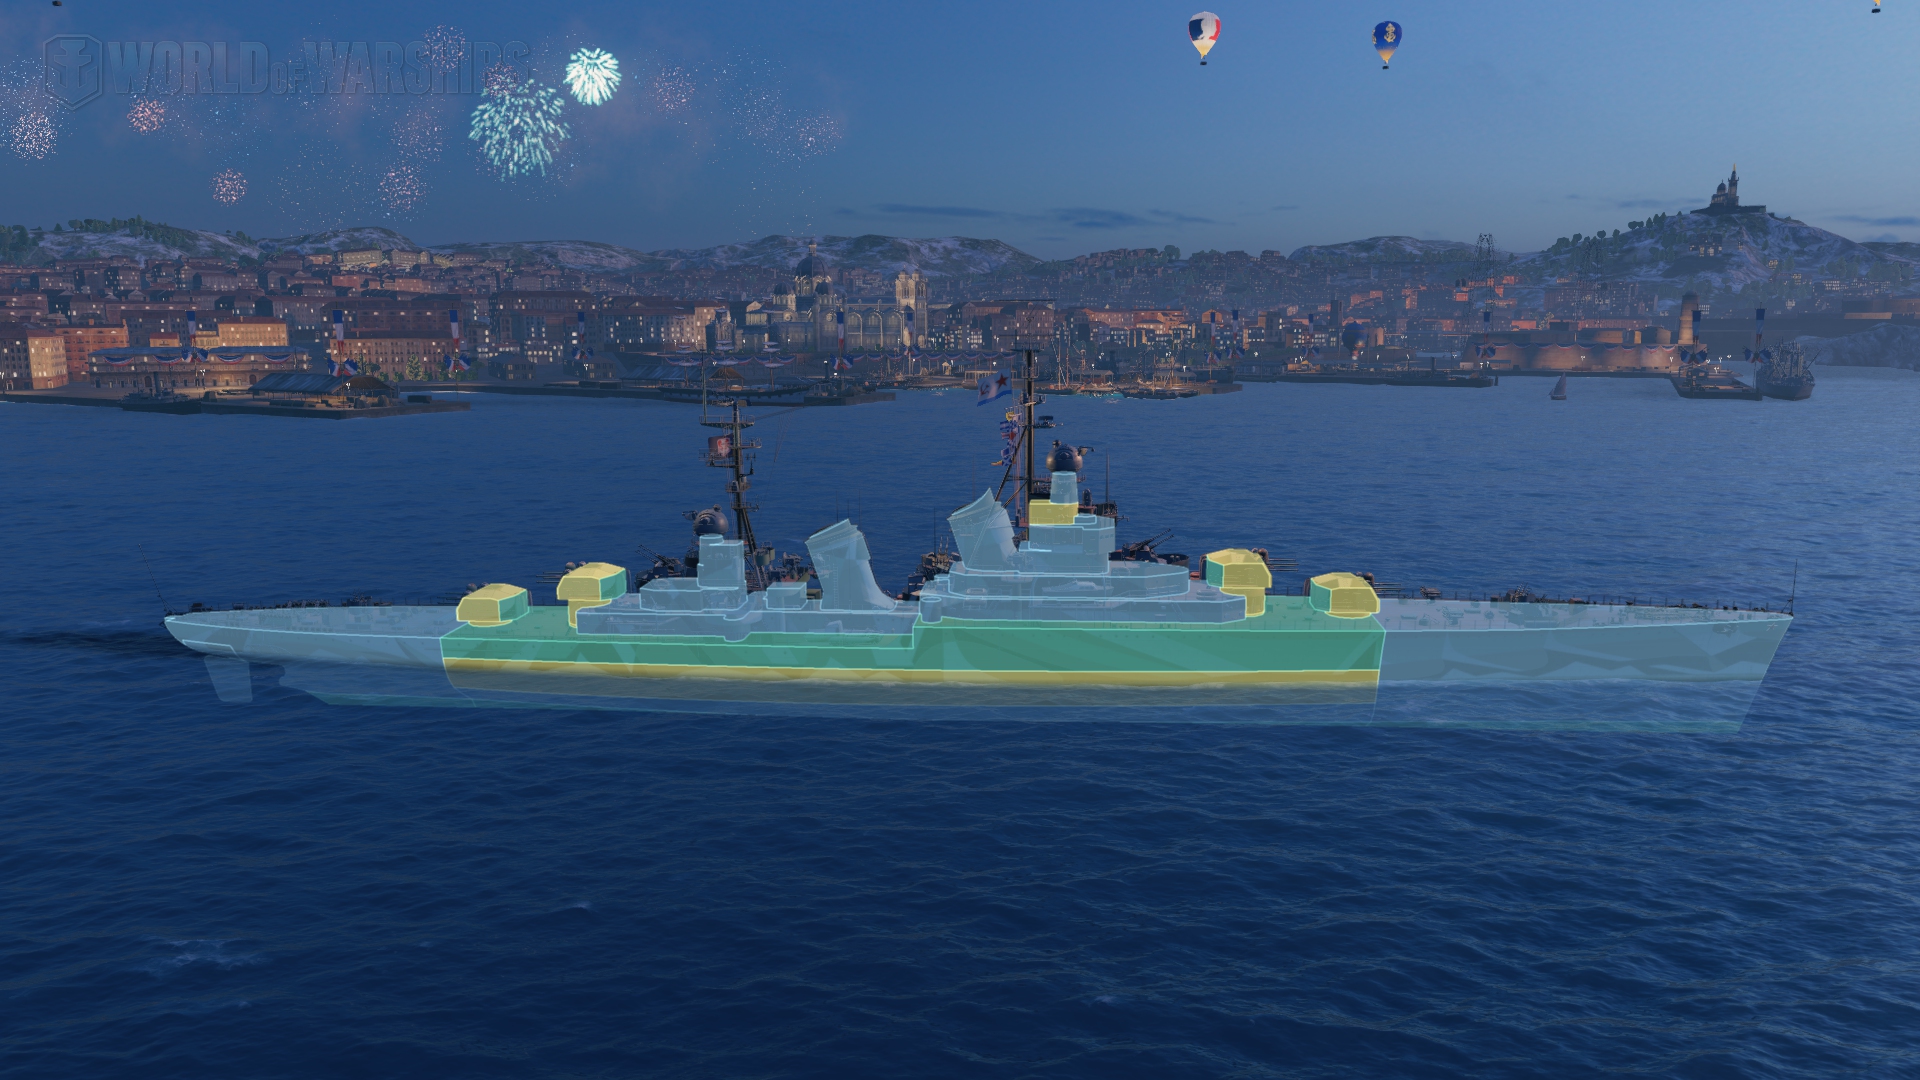
The Smolensk armor is quite interesting. It is a very basic all or nothing armor scheme with 16 mm bow and stern, 30 mm sides and deck armor and finally 70 mm main belt (which is the citadel). Her citadel is above the water line so against cruisers, especially things like Des Moines, you will not want to be caught broadside. However, against battleships, there is a funny thing. Her armor is so thin that at close range (roughly under 10 km but depends what is shooting you) their AP shells will just go through the ship without detonating if you are flat broadside. If you are anything between properly angled and flat broadside, the battleships will just nuke you.
The turrets for a light cruiser are quite solid with 100 mm frontal plating, 70 mm sides, 80 mm roof and 50 mm back.
The consumables
Slot 1 | Slot 2 | Slot 3 | Slot 4 |
 Work time: 5 s Cooldown: 90 s |  Number of charges: 2 Work time: 40 s Cooldown: 120 s |  Number of charges: 1 Work time: 20 s Cooldown: 240 s Smoke radius: 450 m |  Number of charges: 2 Work time: 28 s Cooldown: 120 s Regeneration: 0.5% HP/sec |
 Work time: 5 s Cooldown: 60 s |  Number of charges: 3 Work time: 40 s Cooldown: 80 s |  Number of charges: 2 Work time: 20 s Cooldown: 160 s Smoke radius: 450 m |  Number of charges: 3 Work time: 28 s Cooldown: 80 s Regeneration: 0.5% HP/sec |
 Number of charges: 2 Work time: 100 s Cooldown: 180 s Torpedo spotting range: 3.5 km Ship spotting range: 5.0 km | |||
 Number of charges: 3 Work time: 100 s Cooldown: 120 s Torpedo spotting range: 3.5 km Ship spotting range: 5.0 km |
Conclusion
The Smolensk, despite her boring playstyle of farming damage from smoke most of the time, is an incredibly strong ship. If you know how to position properly and to avoid getting slapped by battleships or heavy cruisers, you will not have many troubles to perform well.
Is it overpowered? I won’t go that far but it is without any doubt a very strong ship if you know how to play.
Recommended build
During the testing of the Smolensk, I used the following captain build and upgrades:
Captain build:
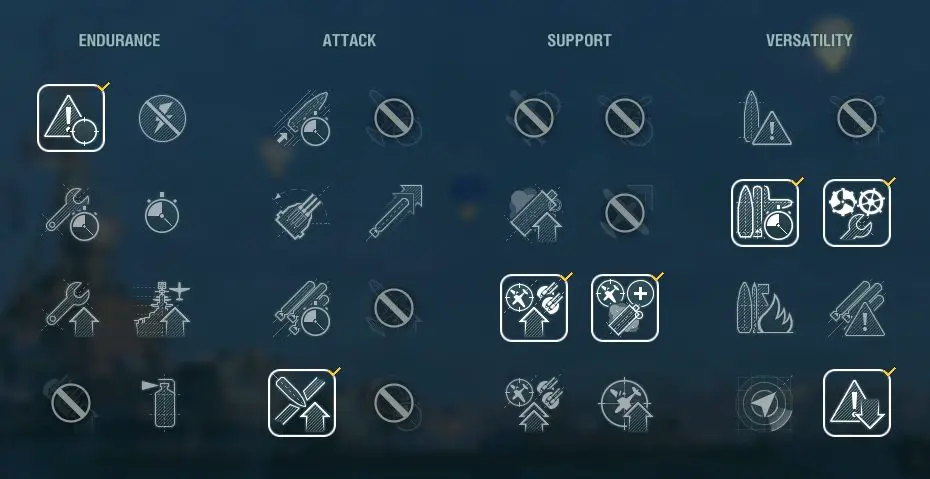
- Priority Target
- Adrenaline Rush
- Last Stand
- Superintendent
- Basic Firing Training
- Concealment Expert
- Inertia Fuse for HE Shells
Upgrades:
 Main Armaments Modification 1
 Propulsion Modification 1
 Aiming Systems Modification 1 or
  AA Guns Modification 1
 Steering Gears Modification 2 or
  Propulsion Modification 2
 Concealment System Modification 1
 Gun Fire Control System Modification 2