
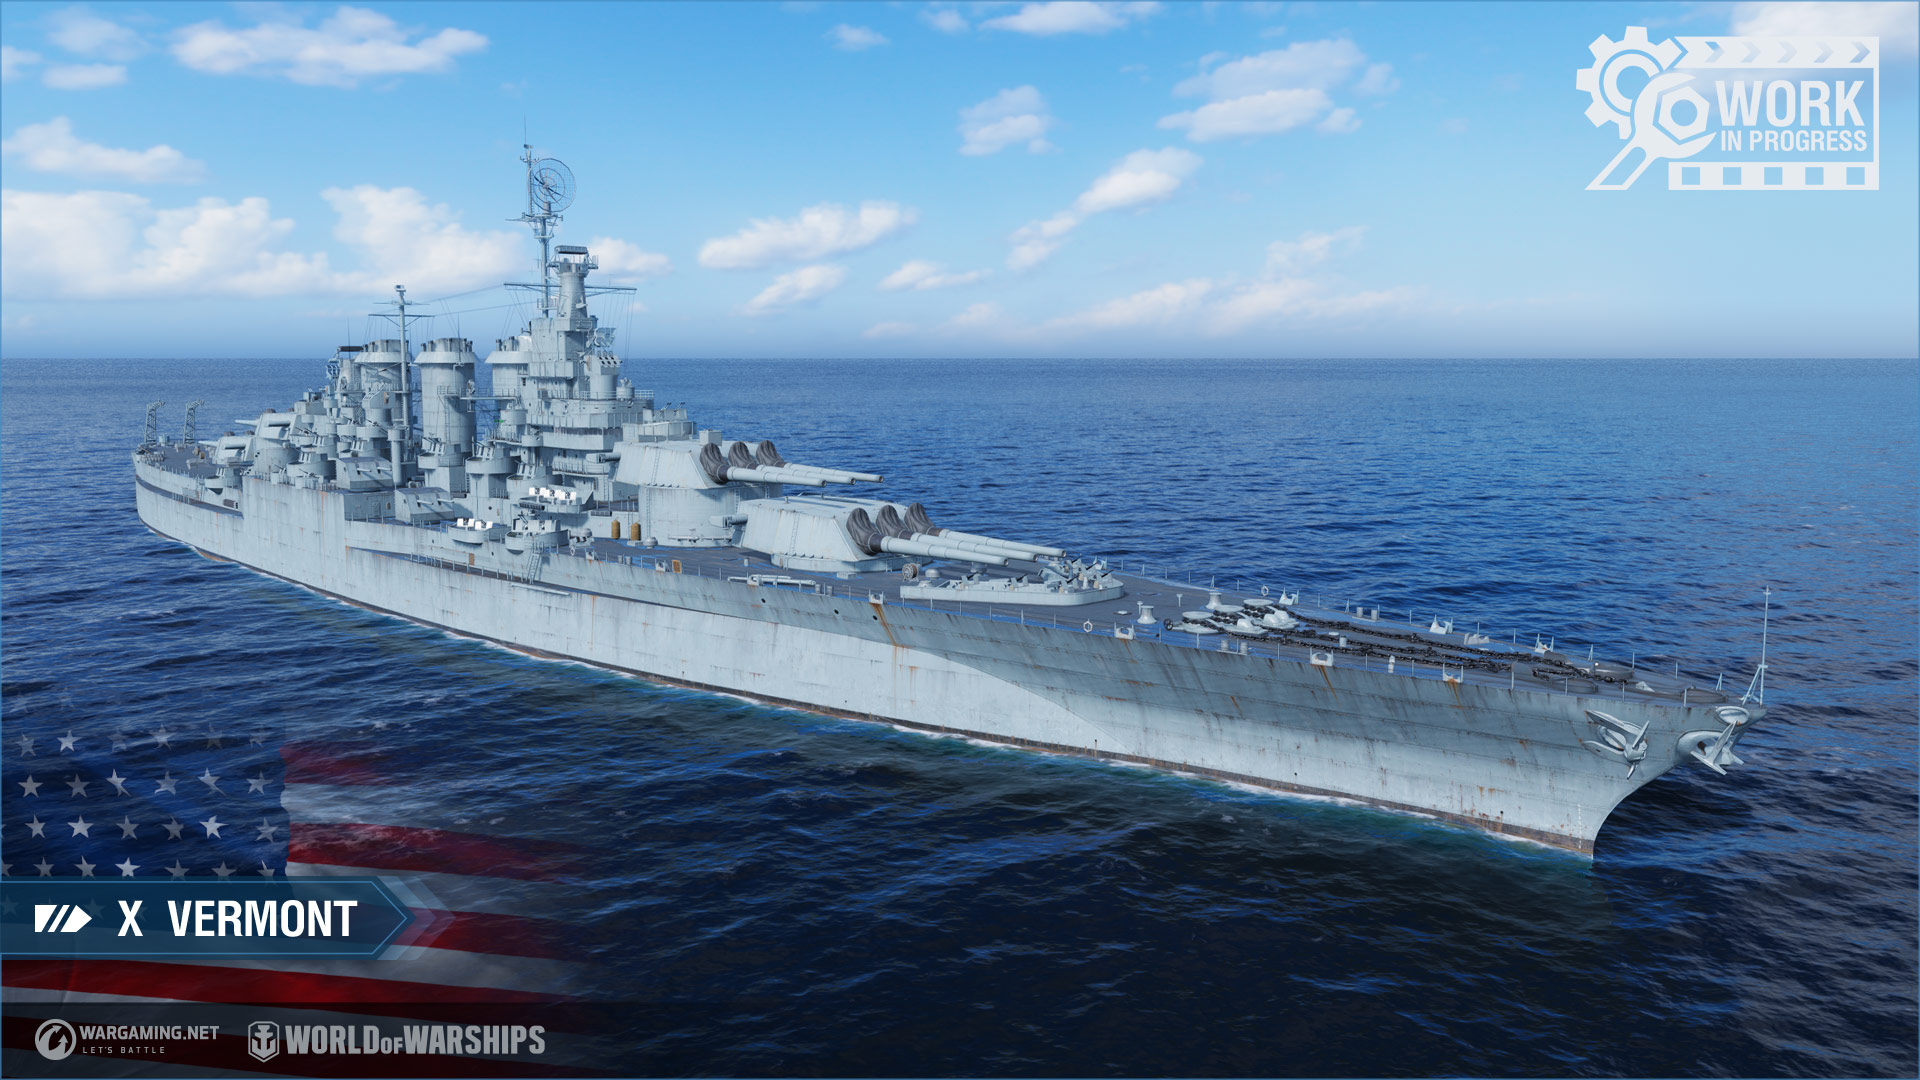
Supertest: U.S. Tier X Battleship Vermont
7 min readIt’s a Tillman battleship…
Out of all the potential designs we could expect among the preliminary designs for the Montana-class, Wargaming decided instead to bring us nothing else than the Tillman I design.
For those who never heard about this… amazing story, let me tell you a bit about the Tillman battleships.
In 1912, senator Benjamin Tillman (a particularly unpleasant person), associated with the naval budget and naval designs at the time, wasn’t really a great fan of the U.S. Navy. He would basically do everything he could to cut their budget and also couldn’t understand why every new battleship class ordered was only slightly bigger and more expensive than the previous one. Pitchfork Ben also didn’t appreciate that the Navy had the habit to build bigger battleships than what the Congress asked for. To “take care of this issue”, he decided to ask the Bureau of constructions and repairs what would be the biggest battleship that they could potentially build. This first request didn’t go very far but it’s in 1916 that he would come back with his brilliant idea. There was a single limit to these Tillman battleships. They had to be able to pass through the Panama canal.
In total, 6 of these designs emerged (Tillman I, II, III, IV, IV-1 and IV-2) with, for the period, absolutely ridiculous characteristics. Their displacement would range from 63 500 tons for Tillman III to 80 000 tons for Tillman IV and its variations. When it comes to the armament, they would carry either 406 mm/50 guns or 457 mm/50 guns in a variety of configurations. For example, Tillman II and Tillman IV would carry 24 406 mm/50 guns in 4 SEXTUPLE turrets. I’m not even sure how a turret with 6 guns like that would work. The last Tillman, Tillman IV-2 was “only” designed with 15 457 mm/50 guns in 5 triple turrets.
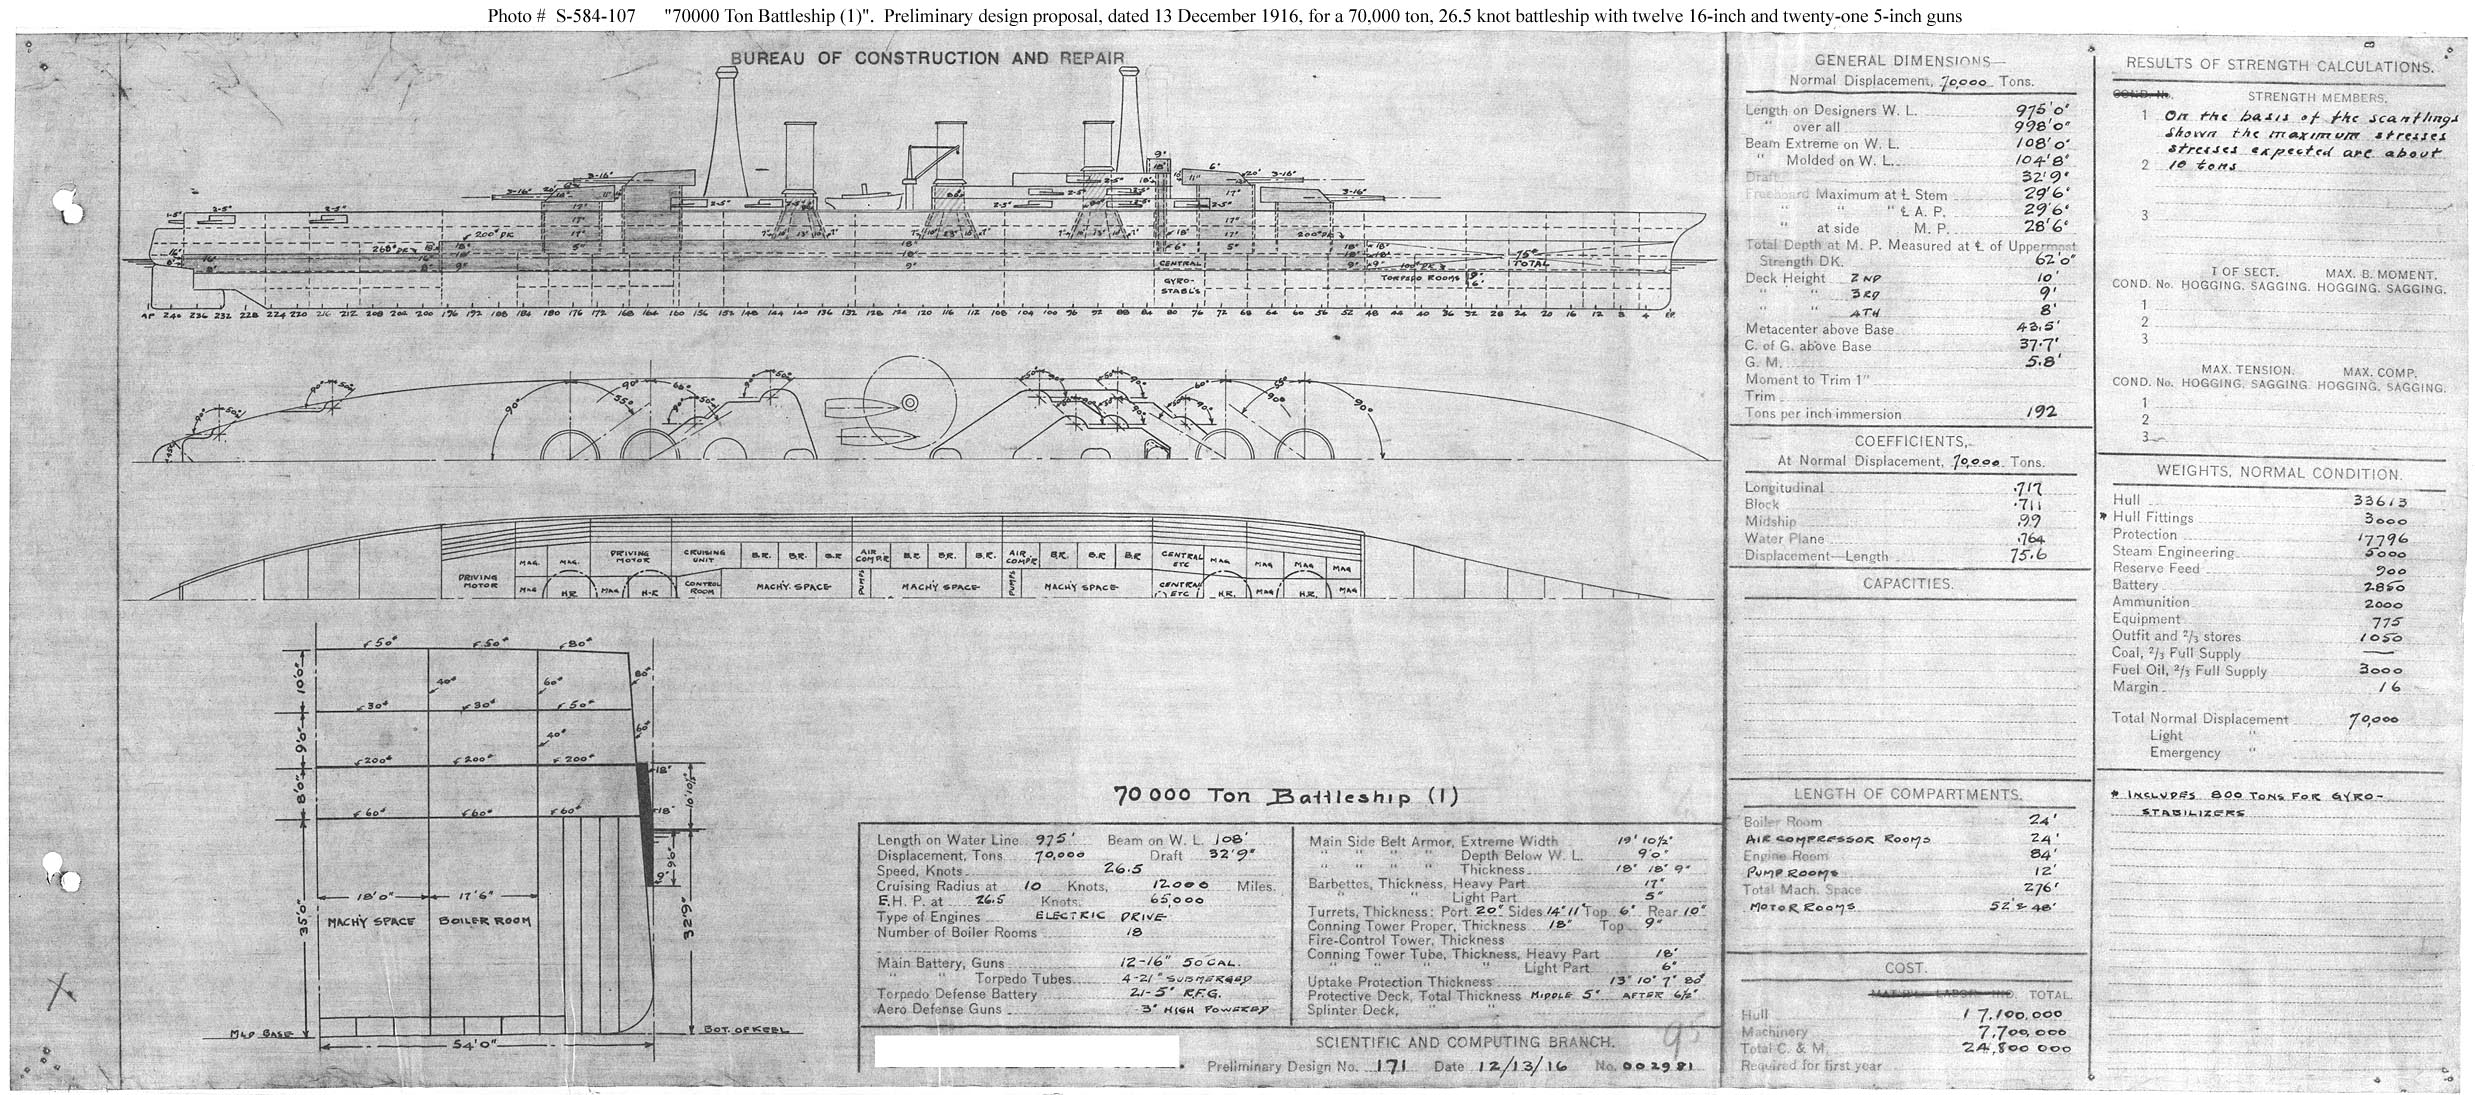
The armor on these designs was, except on Tillman II and III, just as ridiculous back then with the main belt armor ranging from 406 mm to 483 mm. Tillman II and III only had 330 mm main belts because, for Tillman II, there were the sextuple turrets of the main battery and for Tillman III, the priority was on mobility with a maximum speed of 30 knots.
After there journey through the world of impracticality, the Navy decided to present the Tillman IV-2 to the Congress of 1917. They had, however, no plans to ever build such ship considering the cost and the fact that while they would build a single Tillman, other nations would build 3 smaller but more practical battleships. In 1918, senator Tillman died and this series of designs were “buried with him”. In the end, it wasn’t entirely a waste of time since they would affect later battleship designs such as the South Dakota-class from the 1920s.
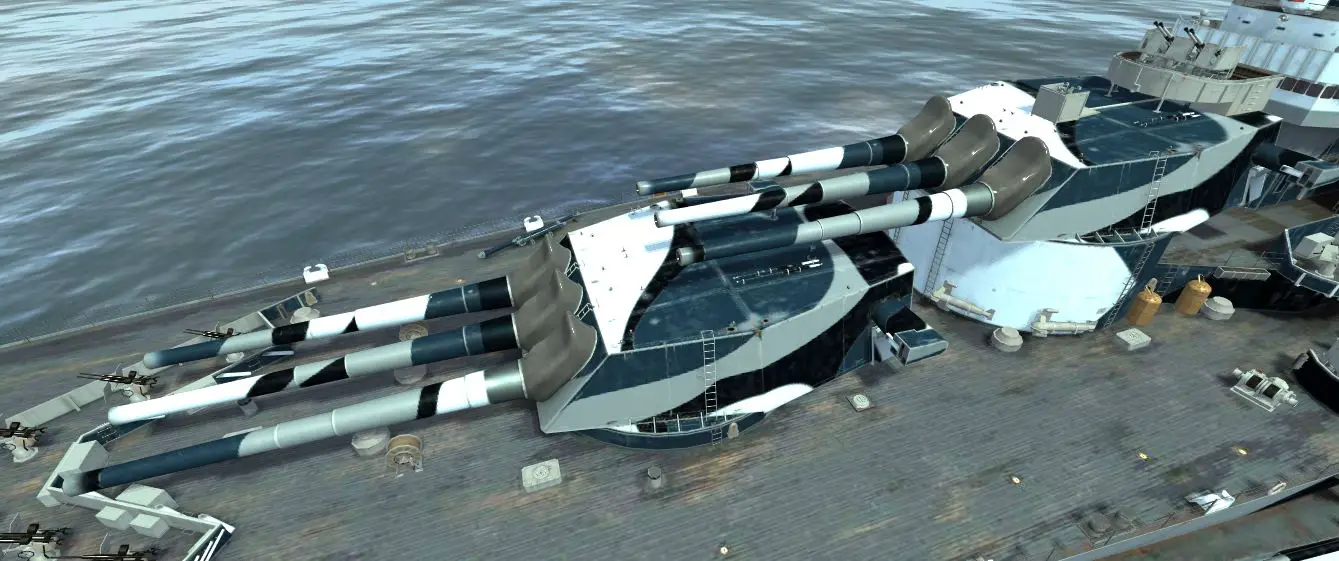
When it comes to Vermont, the ship is based on the Tillman I design but was made longer and narrower and the guns were swapped for 457 mm instead of the intended 406 mm. She also received some weird refit with the view of the commanding deck being nicely blocked by a Bofors AA mount.
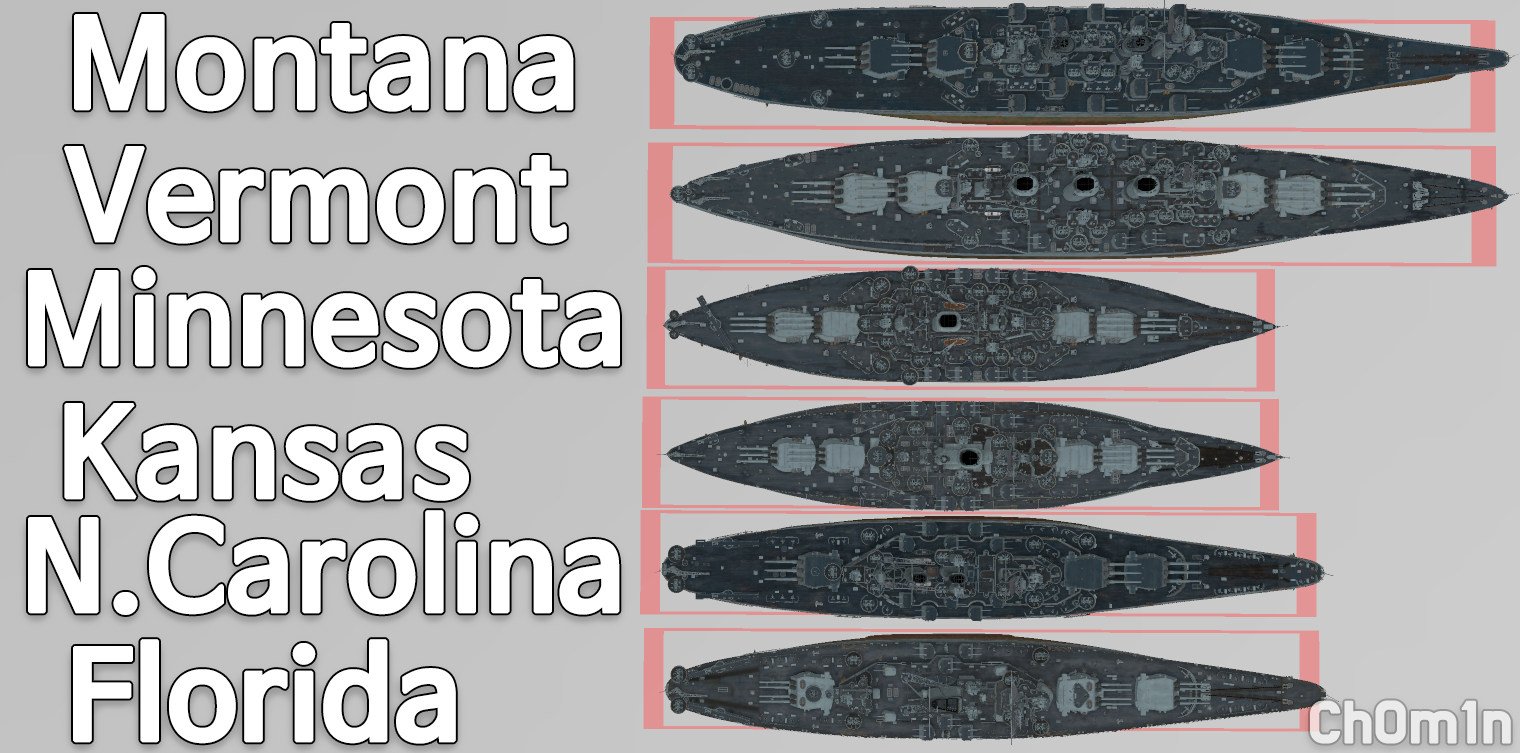
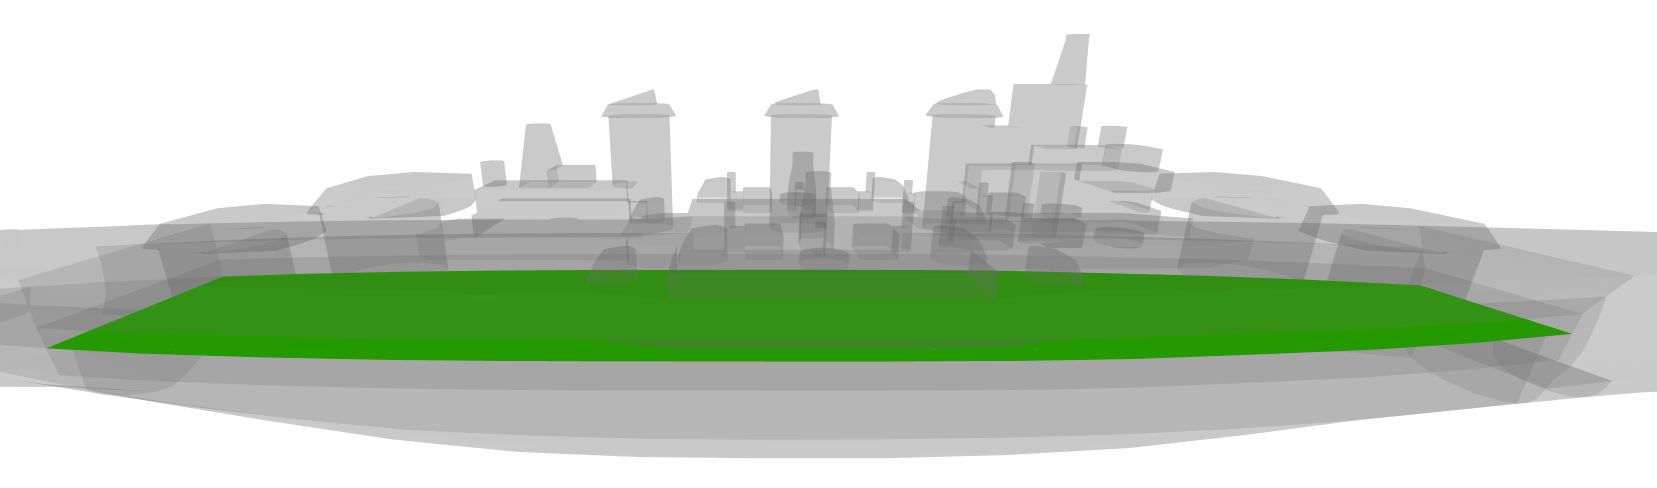
Here is also a model comparison of the different U.S. high tier battleships made by Ch0m1n:
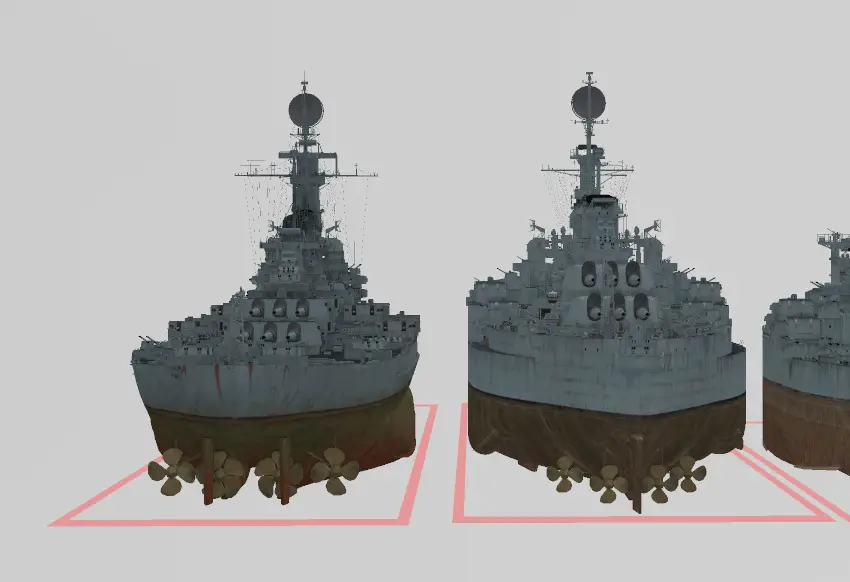
These guns are definitely here to compensate for her small propellers.
In effect, the Vermont is on an equal foot with Montana as the 4th longest tier X battleship.
If you want to learn a bit more about the Tillman battleships, here is a video from the good ol’ Drachinifel:
For the classic reminder, this is a ship in testing, anything can change so don’t look at her like she would already be released.
![]()
Hull | Engine | Gun Fire Control System | Main battery |
Vermont |
Propulsion: 65 000 hp |
Mk10 mod. 1 | 457 mm/45 Mk.А in a turret |
| Tier | X |
| Health | 102 800 HP |
| Torpedo Damage Reduction | 40% |
| Displacement | 77 506 tons |
| Main Armament | |
| Maximum Firing Range | 24.500 km |
| 457 mm/45 Mk.А in a turret | 4 x 3 457 mm |
| Secondary Armament | |
| Maximum Firing Range | 6.000 km |
| 127 mm/38 Mk.12 on a Mk.32 mount | 8 x 2 127 mm |
| Maximum speed | 23 knots |
| Turning Circle Radius | 960 m |
| Rudder Shift Time | 19.1 s |
| Surface Detectability | 18.02 km |
| Air Detectability | 15.29 km |
| Detectability After Firing Main Guns in Smoke | 19.19 km |
| 4 x 3 457 mm/45 Mk.А in a turret | |
| Maximum Firing Range | 24.500 km |
| Reloading Time | 40.0 s |
| 180 Degree Turn Time | 45.0 s |
| Optimal firing angles at the front | 36° |
| Optimal firing angles at the rear | 34° |
| Sigma | 1.70 sigma |
| Maximum Dispersion | 305 m |
| Shells | |
| Type of Projectile | HE – 457 mm HE Type B |
| Alpha Damage | 6 450 HP |
| Damage | 5 840 HP |
| Penetration capacity | 77 mm |
| Explosion size | 2.94 |
| Fire chance | 43 % |
| Projectile Speed | 800 m/s |
| Air Drag | 0.341 |
| Projectile Mass | 1 230 kg |
| Type of Projectile | AP – 457 mm AP Type B |
| Alpha Damage | 15 750 HP |
| Chance to Cause Fire | -0.5 % |
| Projectile Speed | 732 m/s |
| Air Drag | 0.341 |
| Projectile Mass | 1 746 kg |
| Projectile Krupp | 2 390 |
| Projectile Detonator | 0.033 s |
| Detonator threshold | 76 mm |
| 8 x 2 127 mm/38 Mk.12 on a Mk.32 mount | |
| Maximum Firing Range | 6.000 km |
| Reloading Time | 6 s |
| Sigma | 1.00 sigma |
| Shells | |
| Type of Projectile | HE – 127 mm HE Mk32 |
| Alpha Damage | 1 800 HP |
| Damage | 380 HP |
| HE penetration | 21 mm |
| Explosion Size | 0.38 |
| Chance to Cause Fire | 5 % |
| Projectile Speed | 792 m/s |
| Air Drag | 0.347 |
| Projectile Mass | 24.5 kg |
| 8 x 2 127 mm/38 Mk.12 on a Mk.32 mount | |
| Sector range | 0.1 km – 5.8 km |
| Hit chance | 75 % |
| Sector’s damage | 39 |
| Sector’s damage frequency | 0.29 s |
| Sector’s damage per second | 137 |
| Flak clouds number | 6 |
| Flak cloud damage | 1 680 |
| 21 x 4 40 mm Bofors on a Mk2 mount | |
| Sector range | 0.1 km – 3.5 km |
| Hit chance | 75 % |
| Sector’s damage | 153 |
| Sector’s damage frequency | 0.29 s |
| Sector’s damage per second | 536 |
| 36 x 2 20 mm Oerlikon on a Mk.24 mount | |
| Sector range | 0.1 km – 2.0 km |
| Hit chance | 70 % |
| Sector’s damage | 121 |
| Sector’s damage frequency | 0.29 s |
| Sector’s damage per second | 424 |
Slot 1 | Slot 2 | Slot 3 |
Damage Control Party  Work time: 20 s Work time: 20 sCooldown: 80 s | Repair Party  Number of charges: 4 Number of charges: 4Work time: 28 s Cooldown: 80 s HP regeneration speed: +0.66%/s | Spotting Aircraft  Number of charges: 4 Number of charges: 4Work time: 100 s Cooldown: 240 s Bonus: +20% maximum firing range |
Fighter  Number of charges: 3 Number of charges: 3Work time: 60 s Cooldown: 90 s Patrol radius: 3.0 km Number of planes in the squadron: 5 |
The Armor
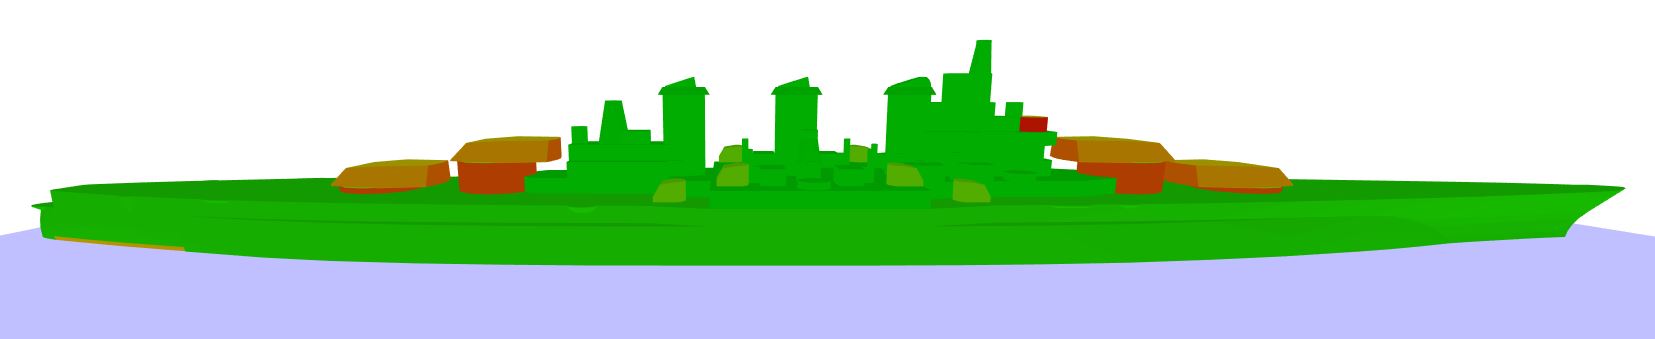
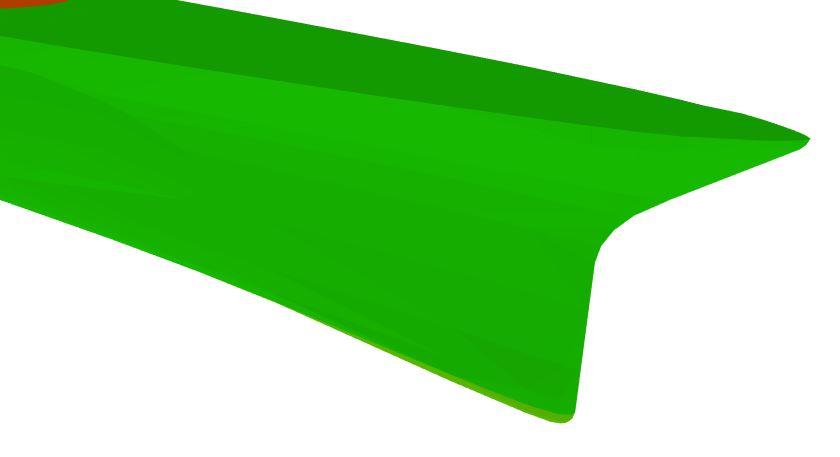
Just like the previous ships, the Vermont is entirely covered with 32 mm of armor. If it wasn’t bad enough, even though the ship is as long and as wide as Montana, she sits way higher on the water, offering an even bigger target.
At least, the internal protection is great around the citadel.
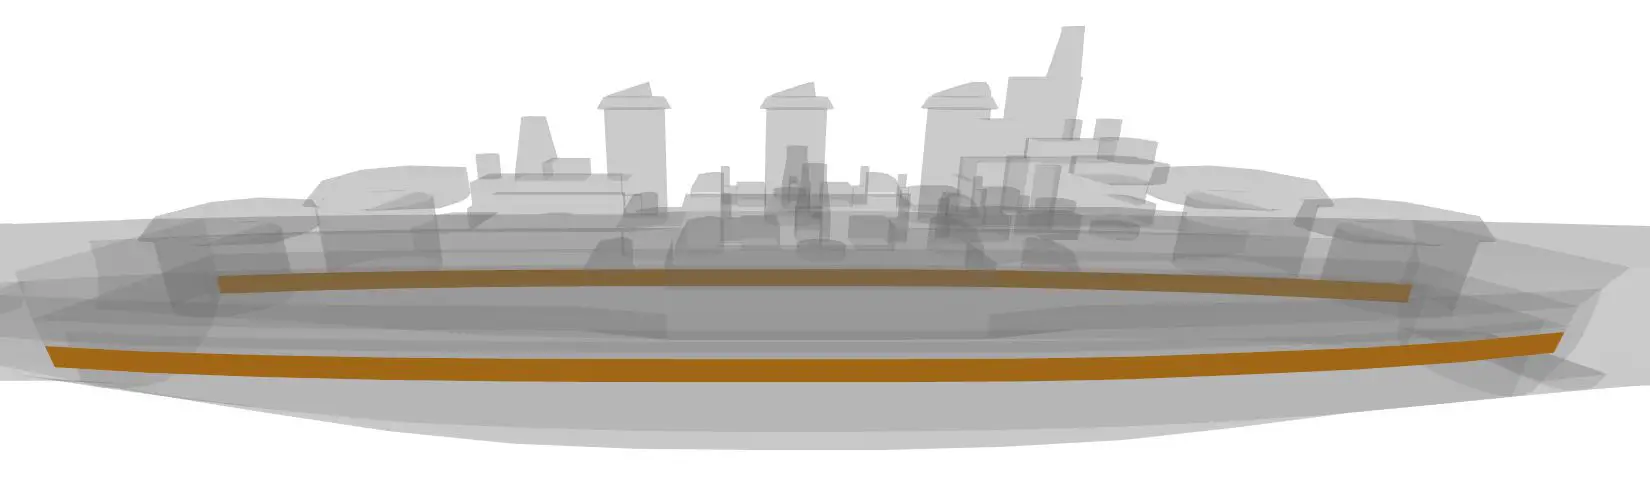
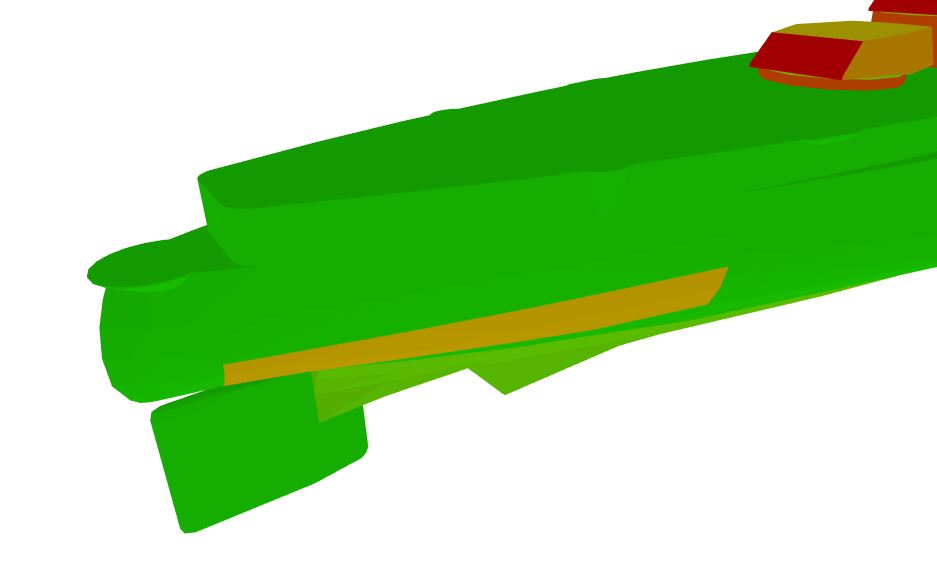
The bow section
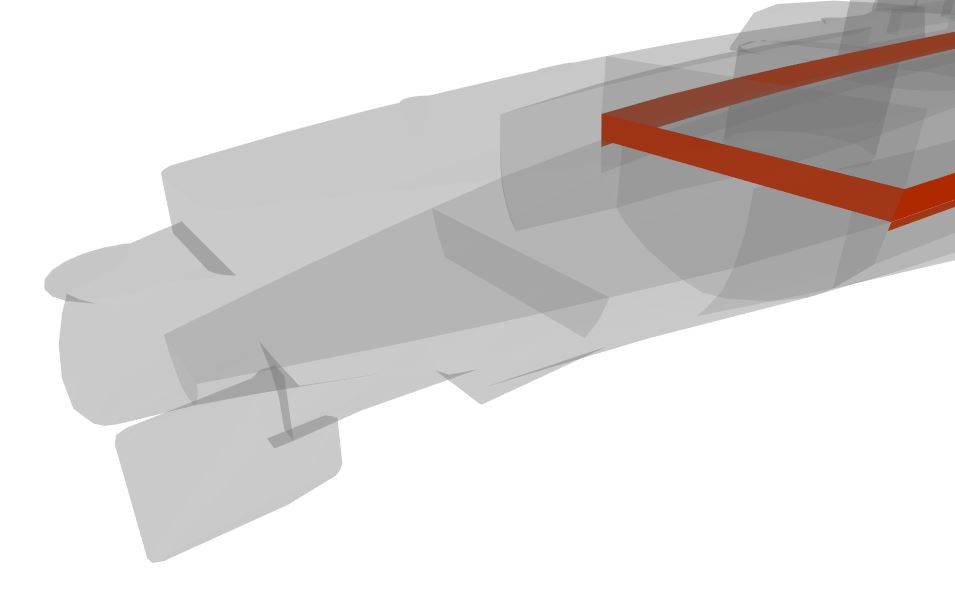
The bow is entirely covered with 32 mm of armor. Unlike the previous ships though, the anti-torpedo bulge only covers a small portion of the bow.
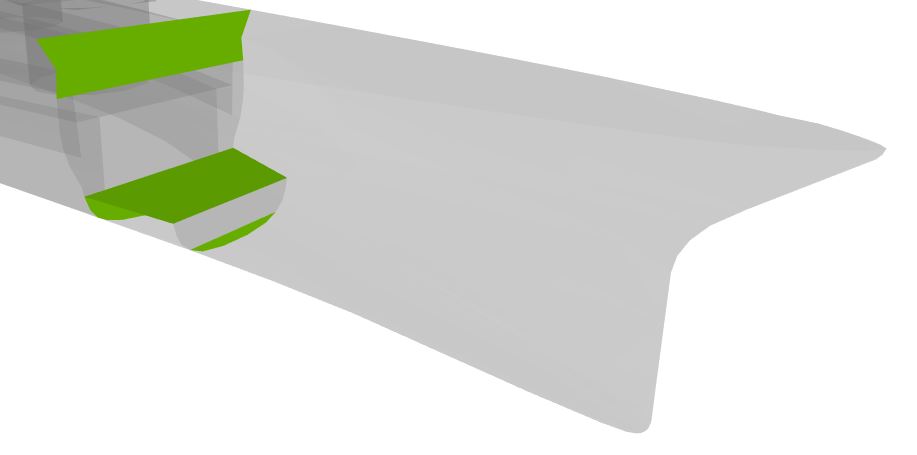

The ship has somewhat of an armored deck inside her bow but it’s a small one and it’s all the way down at the bottom of the ship. It is 64 mm thick and ends with a 229 mm bulkhead.
For the protection of the middle section, the upper casemate is 64 mm thick. The upper bulkhead that partially covers the citadel athwartship is 406 mm thick while the rest of the citadel athwartship is 229 mm thick. Finally, behind the armored deck, there is one last 34 mm portion but it’s just impossible to reach it.
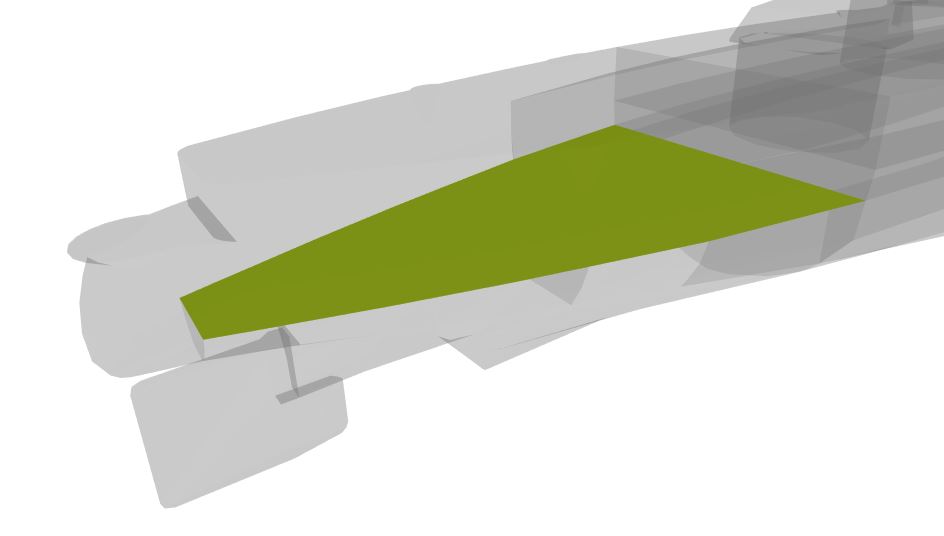
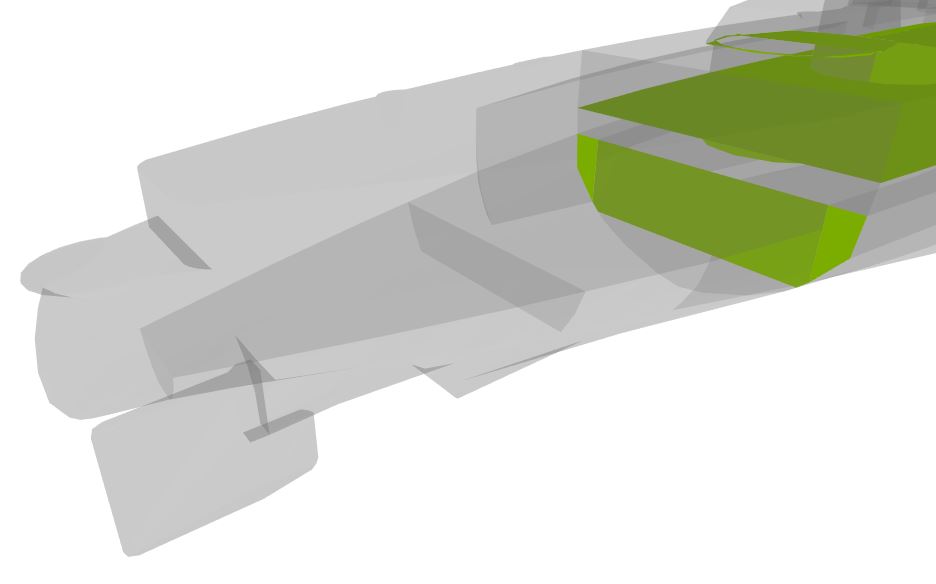
The middle section
The middle section is, surprise, covered with 32 mm of armor but the entire sides are protected by the anti-torpedo bulges.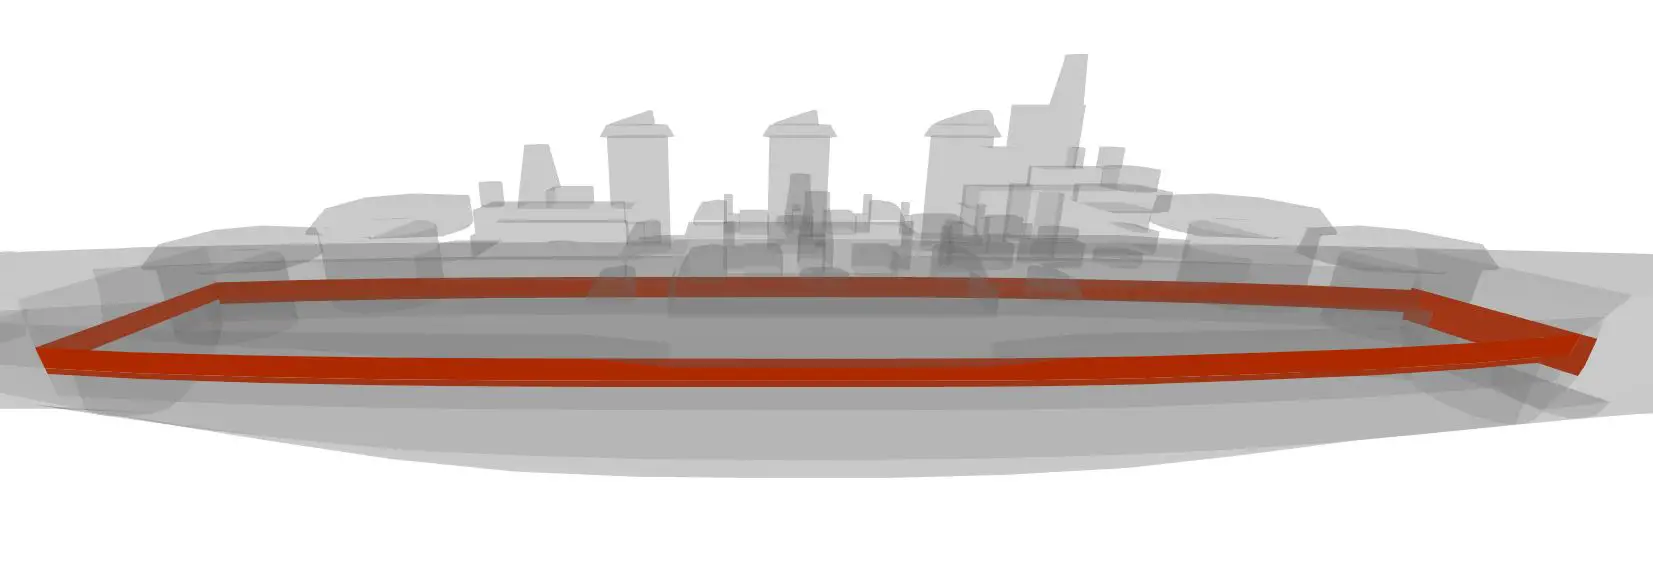
Behind the anti-torpedo bulge, there is first the 32 mm upper belt and then below, the main belt. This main belt follows a spaced armor scheme with the first part being 406 mm thick and the lower part is 318 mm thick.
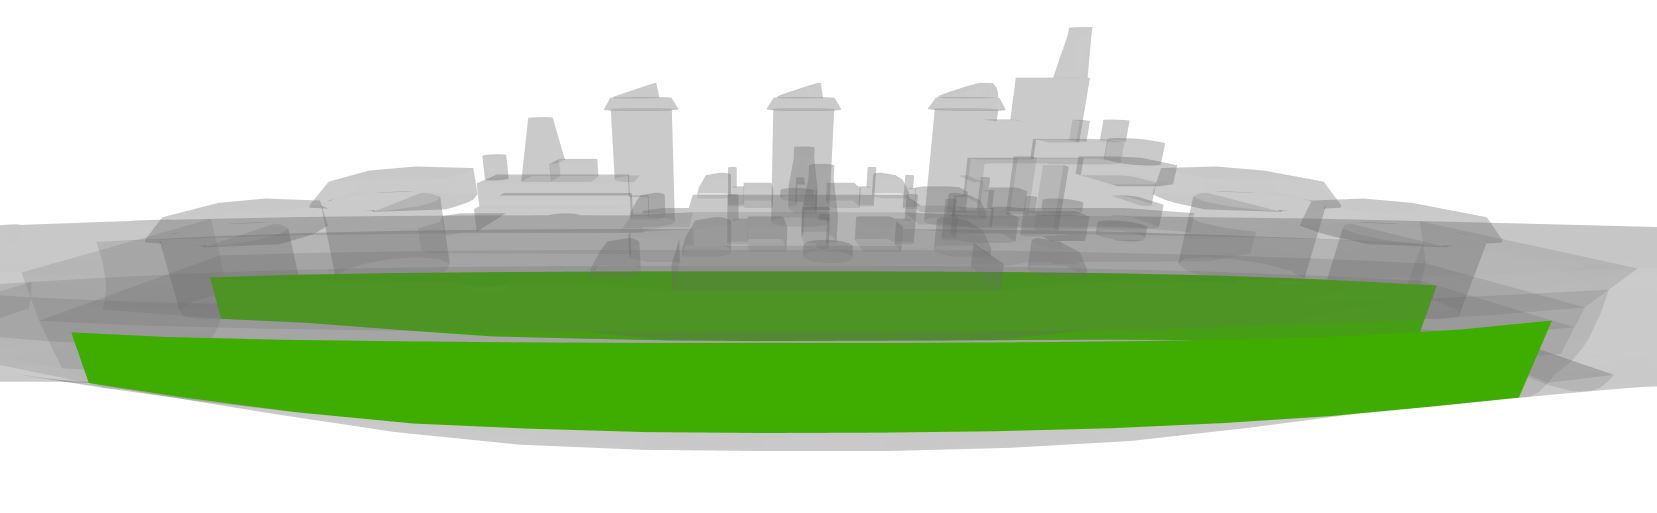
For the sides of the citadel, they are 41 mm thick. It is worth noting that, unlike the previous ships, the citadel of the Vermont is slightly above water but it will still be very hard to hit it.
Finally, for the horizontal protection, outside of the 32 mm weather deck, there is only a 127 mm main armor deck and after that, the citadel deck with 38 mm.
Due to how tall the ship is, I’m ALMOST certain that she cannot reliably get citadelled by AP bombs but I will have to wait and test it to be sure of it.
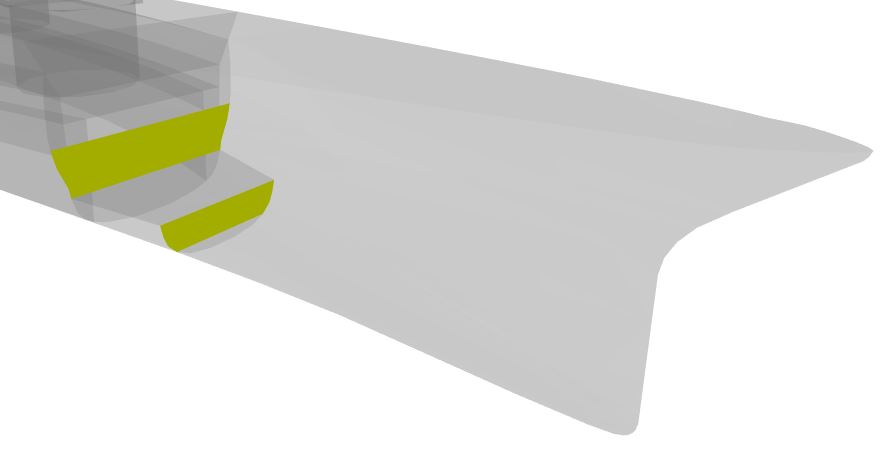
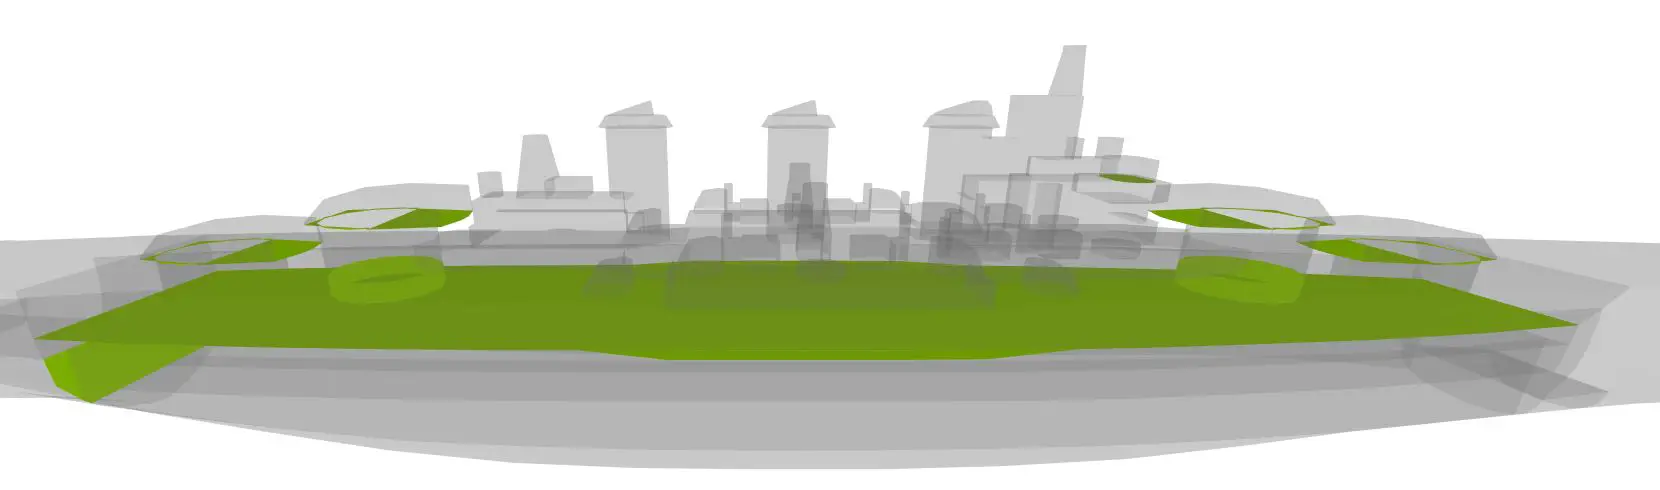
The stern section
The external protection of stern is an almost uniform 32 mm except for an extended belt which is 292 mm thick and partially above water.
Inside the stern, there is a 165 mm armored deck that completely covers the citadel with the extended belt below.
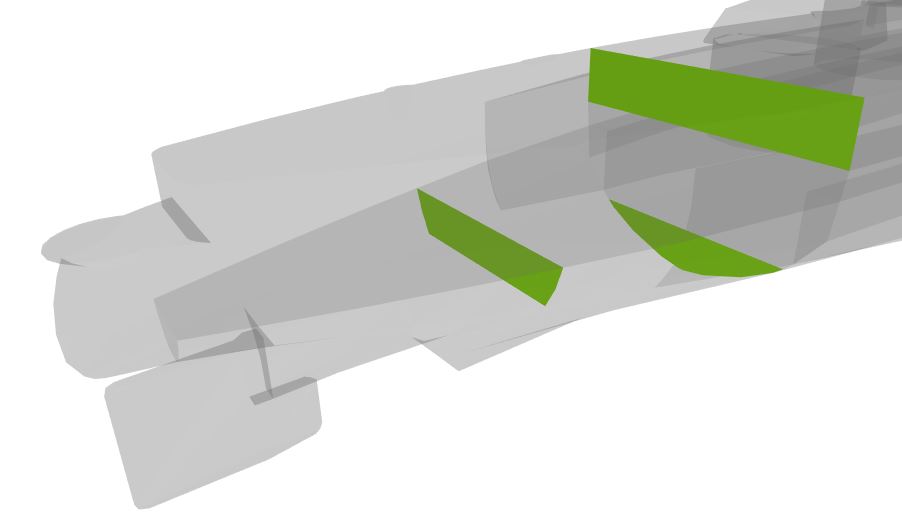
For the protection of the middle section, it’s the exact same as the one at the front. There is 64 mm casemate then the 406 mm bulkhead and finally the 127 mm and 64 mm citadel athwartship.
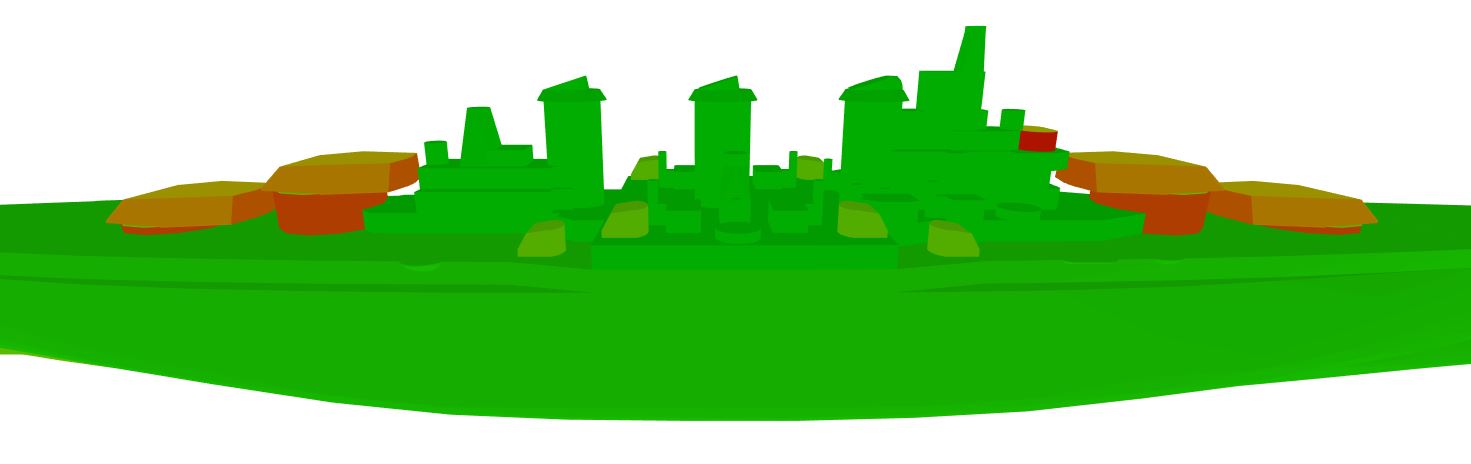
The superstructure
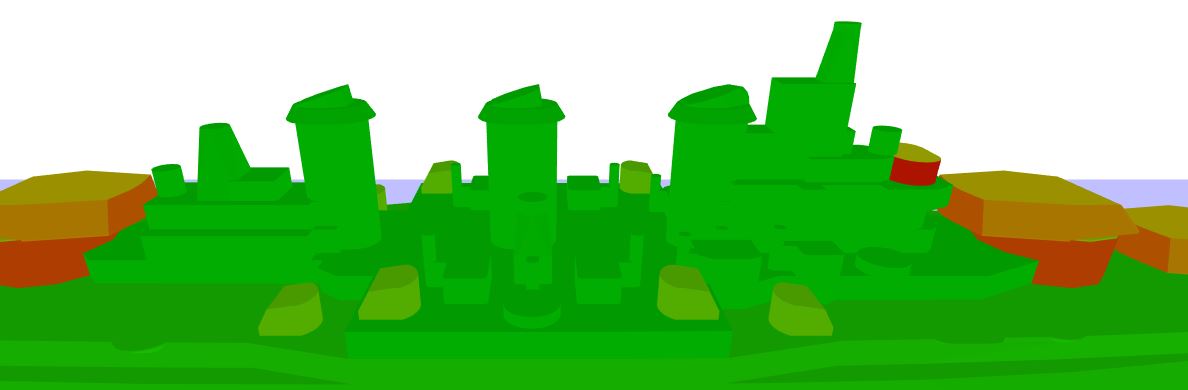
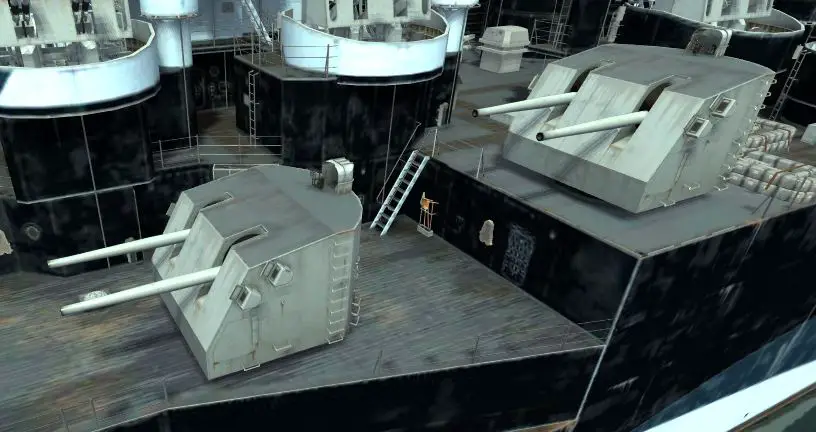
The superstructure is both long and wide, reaching the sides of the ship. You also don’t have just 2 but 3 funnels to catch random HE shells coming your way. The whole thing is 19 mm thick except for the conning tower with a mix of 457 mm and 197 mm and the secondary turrets, protected by 54 mm of armor.
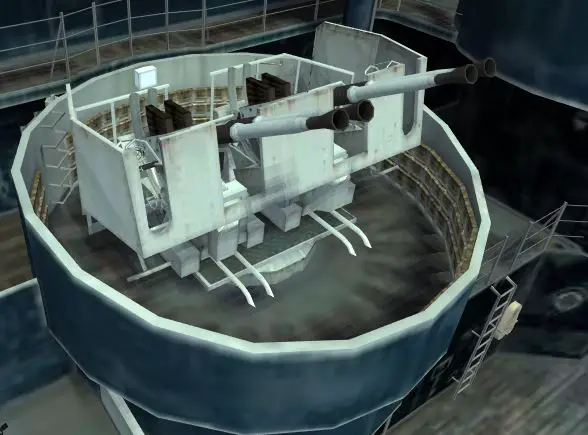
The turrets
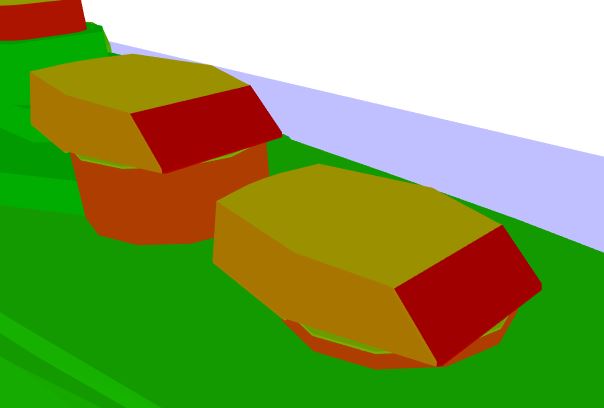
The turrets are big but well armored. The face is 508 mm thick with a great 45° slope so definitely a tough nut to crack. The sides are 305 mm thick, the roof is 254 mm thick and finally, the back is 356 mm thick.
For the barbette, it has a uniform 381 mm plating for the exposed part but the lower part is only 127 mm thick.
Personal Opinion
Well now, we are actually starting to talk. The ship has the heaviest broadside by far of the entire game and, with that considered, the reload isn’t the end of the world. For the dispersion, well she has access to the unique U.S. BB dispersion module and to be fair, Massachusetts also has 1.7 sigma and she is still quite consistent.
She still maintains the biggest downside of the entire sub-branch though, the horrible top speed. Also, with how tall the ship is, she will be a shell magnet for sure.